Below is a step-by-step quck start guide to scanning 35MM Slides
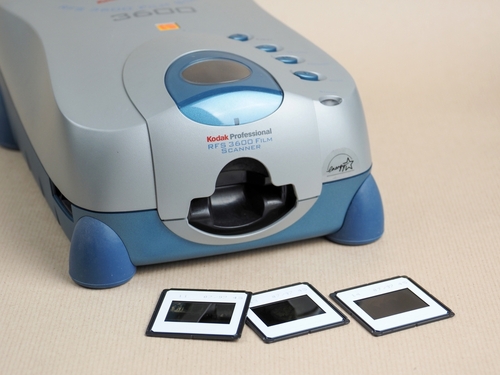
Slide Scanner
Invest in a quality scanner designed specifically for slides. There are various models available, ranging from flatbed
scanners with slide adapters to dedicated slide scanners.
Cleaning Supplies
Soft, lint-free cloths, compressed air, and cleaning solution to clean slides if necessary.
Computer
A computer to connect your scanner and store the scanned images.
Software
Ensure you have the necessary scanning software installed on your computer. This
normally comes with you scanner.
Inspect your slides for dust, dirt, or fingerprints. Clean them gently using a soft
cloth or compressed air if needed.
Organize slides in order if you have a specific sequence you want to maintain.
Open your scanning software and select the appropriate settings.
This may include resolution, color depth, file format, and any image enhancement options.
For archival purposes or high-quality prints, choose a high resolution (at least 2400 DPI), and select the highest color
depth available (typically 24-bit or higher).
For lower quality images to be uploaded to AircraftSides.com we suggest creating an image
with a width of 700-800 pixels and a resolution of c.200-400 dpi to keep the image within the site
image size limit of 250k
Choose the file format that best suits your needs. TIFF is preferred for your own archival purposes due to its lossless compression,
while JPEG is the format you should use for images to be uploaded to the site.
Insert one slide at a time into the scanner's slide holder or tray,
following the manufacturer's instructions.
Ensure the slide is positioned correctly and securely to avoid blurry or misaligned scans.
Use the scanning software to preview the image before
scanning to ensure proper alignment and exposure.
Adjust settings such as brightness, contrast, and color balance as needed to achieve the desired result.
Once satisfied with the preview, initiate the scan process.
Depending on the resolution and settings, scanning may take a few seconds
to several minutes per slide.
After scanning, review the scanned images for any imperfections or artifacts.
Save the scanned images to your computer or external storage device, organizing them into folders if necessary.
By following these steps, you can efficiently scan your 35mm slides and create digital copies that will last for years to come.